The emergency preparedness and survival community like to create little rules and rhymes and easy to remember acronyms for things. It helps us keep in mind priorities when situations are tense and we are overwhelmed with intense life altering situations. Being able to keep in mind your basic survival needs and prioritize them effectively will help you make better decisions in a crisis. The rule of three is a basic rule that will increase your odds of survival in ANY climate and with any level of preparedness.
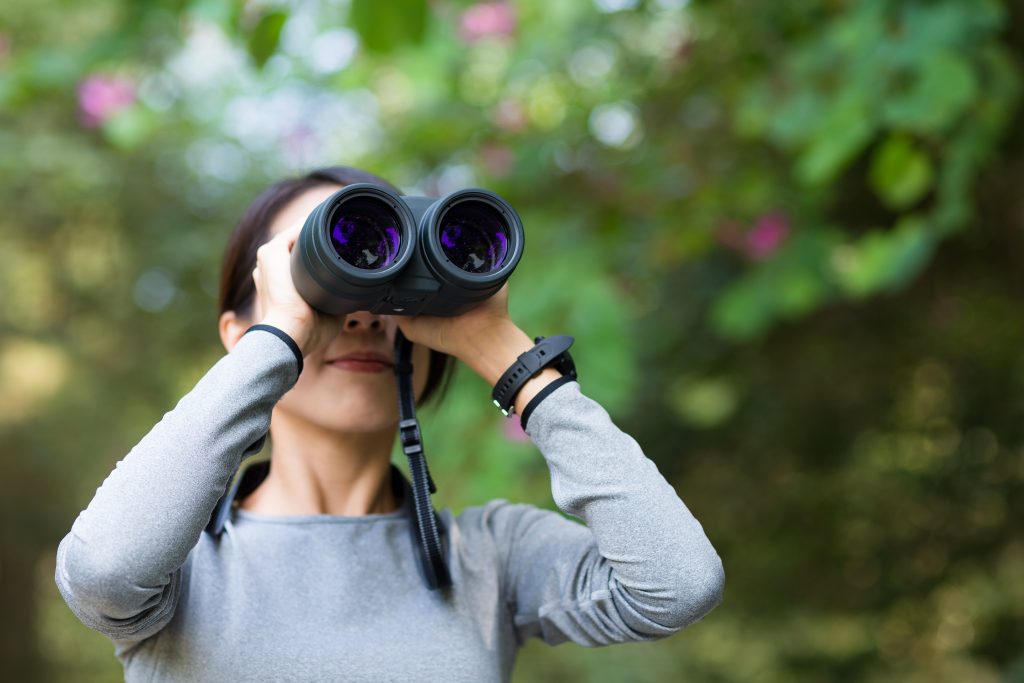
Three Seconds Without Situational Awareness
The average person can go about 3 seconds without having situational awareness in critical times. Recognizing and responding to immediate threats cannot be done if you are not constantly alert. This means being able to figure out what to do based on the ability to maintain a constant, clear mental picture of relevant information in your immediate environment and the tactical situation including friendly and threat variables. Some situations arise that literally allow you only seconds to respond. We can break situational awareness down into five levels.
The first and most common is being “tuned out”. This usually happens when you are relaxed and very familiar with your environment, or are distracted by something such as music playing in your earphones, or people around you engaging in interesting conversation that is not time critical or otherwise stressful. Slightly higher up on the scale of awareness is what is referred to as “relaxed awareness”, meaning you are comfortable in your surroundings, but still able to pay attention to everything around you. You are able to keep a good balance between potential distractions and being alert. The majority of people exist in one of these two passive states most of the time.
“Focused awareness” is the third highest state of alertness. At this level you are aware that there could be potential threats, and are specifically assessing your environment for hidden dangers, potential exits, and other options, and are not allowing anything to distract you. This level of awareness can be extremely stressful, and prolonged periods of focused awareness will leave you fatigued or even exhausted. The fourth level of alert is “High alert”. When this happens, your body is in a state of adrenaline rush, and may have slightly elevated reflexes. being on high alert can be scary, and extremely draining both physically and mentally.
The final stage of alert is comatose. Usually this occurs because you have gone into panic or shock, and your body is unable to process or react to any stimuli. It is also possible to feel disconnected, as if you were watching a movie and the situation is not real. This level is extremely dangerous, leaving you vulnerable to danger, and unable to take measures to prevent it. They key to finding a good balance between being comfortable and being alert is in using the OODA loop. It was a concept proposed by Air Force Colonel John Boyd as a way to describe out-thinking another pilot in a dogfight, but it can be applied more broadly.
OODA stands for observe orient decide and act. observation, is when you see, hear, or even smell a potential threat. Your body’s immediate response to being made aware of danger is to seek its location, which brings us to Orient. Once you have located the danger, or its general direction, you are then able to focus your attention on it, and assess the situation. Decide comes next. You need to decide what you are going to do to avoid or engage the danger. Once you have decided what to do, you need to Act. Fast action in an emergency situation is the best way to improve your odds of survival, and a quick response can often give you the upper hand in a hostile situation.
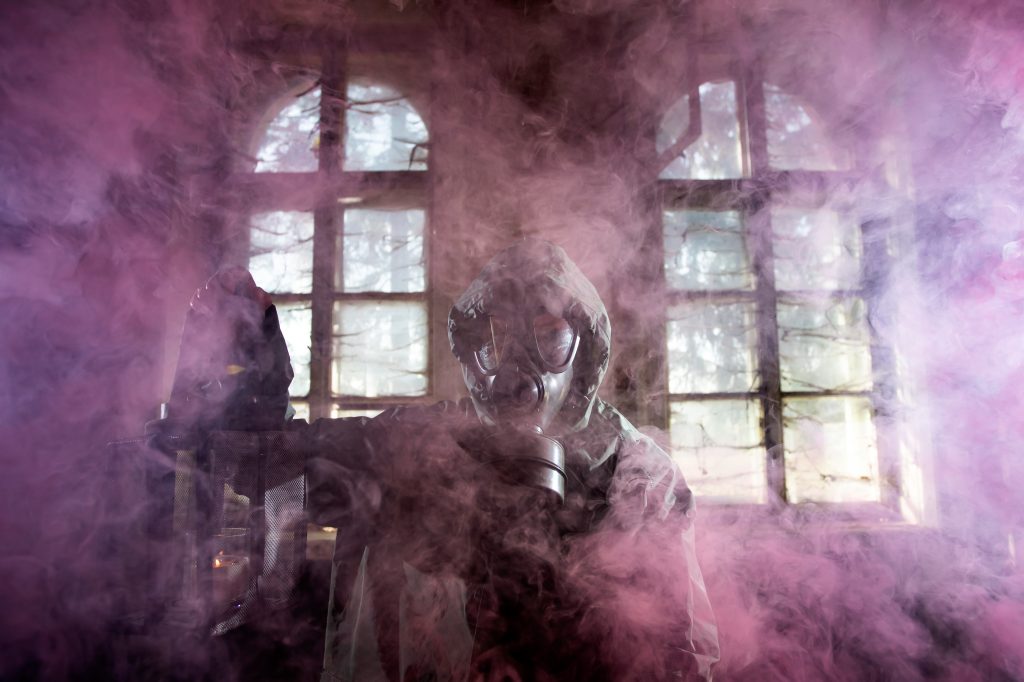
Three Minutes Without Air
You can generally go about 3 minutes without breathing. Of course a number of factors such as physical activity and pulse rate will contribute to how long you are able to hold your breath. Certain trained individuals are able to hold their breath in excess of 3 minutes, but I would suggest 3 minutes is a LONG time for most people and should be viewed as a ceiling unless you condition yourself regularly to exceed it. Places where this could be useful would be running into a burning building to rescue somebody without a respirator. Or having to rescue a drowning person. Another thing to consider is if you find yourself in icy water, the three minute countdown on your survival will also be ticking.
If you want to train yourself to be able to hold your breath for longer than 3 minutes, try training like freedivers do. First you need to figure out how long you can hold your breath currently so yoou can set realistic goals to train toward. To start, relax and breath slowly for a few minutes. When you are ready to hold your breath, take one deep breath in, exhale completely, then take another deeper breath as much air as you can hold. Have your timer ready. As you hold your breath, try not to focus on it, and just let your mind wander and try to remain calm. Time yourself, and when you can’t hold it any longer, let it go and take a few slow deep inhales to recover. How did you do? Were you able to hold it for a minute, minute and a half, two or more?
The most important part of learning to hold your breath longer is relaxation. Any tense muscles will use more oxygen. Keeping your mind calm is essential as well. Consider the kind of emptying of the mind one typically reserves for things like meditation. It is important that the few full breaths prior to the hold are slow and full. Take care not to overfill your lungs as this will cause unwanted muscle tension. Make sure you are holding the air at the throat with the Glottis and not in the mouth with the lips. Also do not release any air until you are ready to breathe again.
Break up the hold into three parts. The first part is where you are comfortable and don’t need to take a breath, the second is where you feel mild discomfort as CO2 levels increase. This second step is also marked by noticeable vasoconstriction in the limbs. Finally as the O2 levels drop lower the diaphragm starts to contract, becoming a little painful. The danger zone is not until the tail end of the final stage. It is the increase in CO2 that causes the urge to breathe in the second step. You want to train both your CO2 tolerance as well as your ability to operate for longer on lower O2 levels. For O2 conditioning the rest period will remain constant and the hold time will slowly increase. With CO2 tables the hold time will remain constant, and the rest period will gradually decrease. Training daily with both methods will increase your overall hold time and ability to better function on lower O2 levels.
In the case of a pandemic, the air may be unsafe to breathe without a P100 filter to keep airborne pathogens out of your airways. If you have to perform a rescue in a fire or at a great depth underwater, you may want a tank of air. If compressed air and a respirator is not immediately available it is important to have some methods to reduce your chances of breathing in potentially fatal material. Take the example of being surrounded by fire, whether you are self rescuing from a burning building, or going back in for somebody else. A piece of wet cloth over the nose and mouth will provide protection from smoke particulates, and depending on what is burning, absorb most of the water-soluble gases such as hydrogen, cyanide, hydrogen chloride, etc. from the air. It is still advisable to travel lower than 18 inches to avoid the densest smoke and increase the distance you can see.
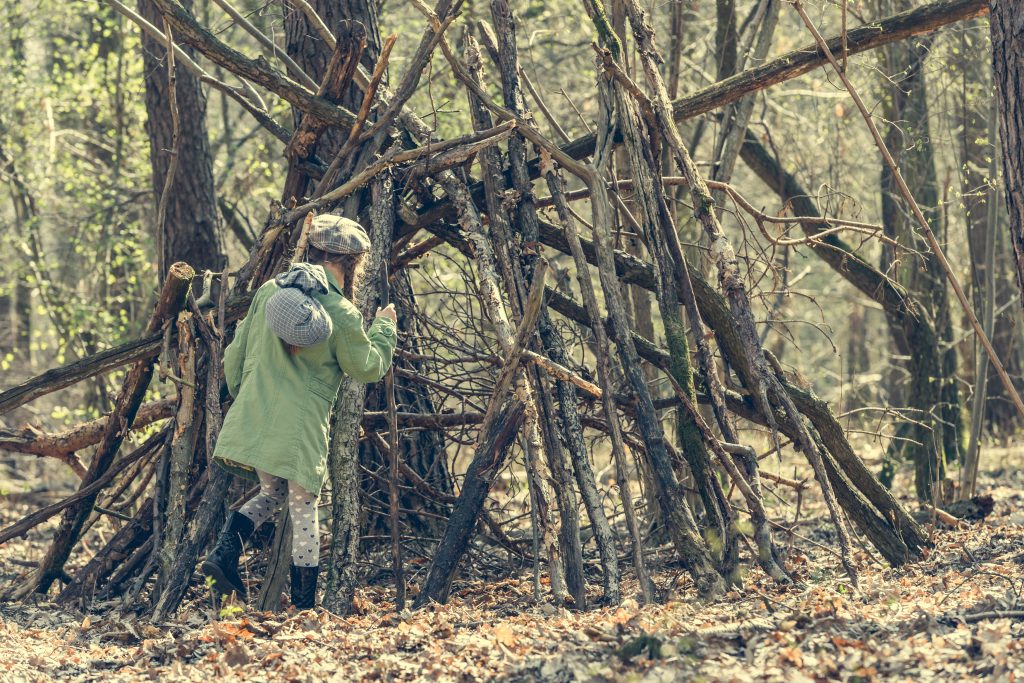
Three Hours Without Shelter
In harsh environments you can generally go about three hours without adequate shelter. By harsh environments we don’t just mean wind gusts, torrents of rain, or subzero environments; an urban environment can be harsh if the power’s been out for a day or two, and don’t forget that you may not be isolated. You may be around hostile animals or people. Part of an adequate shelter can sometimes mean security.
Depending on your climate, you may need protection from rain, snow, wind, blistering sun, predators, or something else entirely. A shelter is any stationary place that provides protection from exposure and security from predators. Elements of a good shelter can include a waterproof roof, windproof walls, a heat source such as a fire, a raised surface so you don’t have to sleep directly on the ground, and an early detection systems and ad hoc fencing for predators to name a few. Having a shelter even in mild to moderate climates can be a massive morale booster providing a sense of accomplishment and sanctuary.
Understanding just how much time you have before the sun goes down is important. Practice starting fires in many different weather and wood conditions and with several methods so you know better what to expect when your life depends on it and can make decisions accordingly. If you are unknowingly setting up camp near a river, the firewood you collected might by damp by morning. If you are in the desert, the material you are burning is going to be much different than if you are in a snowy mountain setting. If you only have enough time before the sun sets to build a shelter or start a fire, choose building a shelter.
In addition to the possibility of ambient humidity, setting up a camp near running water can pose a risk of flash flooding, and attention from curious predators who stopped by for a drink. Be wary of setting up camp below dangerous widow-makers like rotted trees or precarious boulders, and remember even a living tree can come down in strong winds. Orient your shelter to take advantage of the position of the sun in the sky, so you can enjoy it’s warmth as early as possible in the mornings. Pay attention to the lay of the land as well. If it started to downpour, would the water flow away from your shelter or pool and collect?
Some other additions to your impromptu camp might include a wind wall, a rainwater catchment, or a fire reflector. A wind wall is like it sounds, a short wall built up to keep the wind from blowing across your fire and or shelter. Rainwater catchment can be done in a similar way as they waterproof roof layering with the difference being it is tapered at the bottom to allow the rainwater to gather at a central collection point. A fire reflector can also act as a wind wall, but is usually made by stacking rocks around the fire in a horse shoe shape with the opening facing you. The reflector bounces heat from the fire off the rocks and back toward you, and the rocks temporarily store much of the heat as a thermal mass.
If you read my last article on winter weather survival, you will understand the importance of insulation. Know what materials are available to you and how to use them most effectively is a skill only acquired with practice. When choosing materials for a shelter that is to keep you warm, use layers of light fluffy material that traps are in tiny pockets. Thatched grasses, piled up leaves on a debris hut, and even snow in a snow cave can provide great insulative value. If you want a waterproof shelter, using broad leaves on the roof and layering them downward will provide the best option absent plastic or other man-made waterproof material.
If you are lost and know somebody will be looking for you, building a shelter and staying in one general area for a while is always a better plan than continuing to try to find your way and possibly increasing the distance between you and your last known location. If you are unable to find or create adequate shelter, and the climate take a severe turn for the worse, it is important to have a personal locator beacon with you. A final point on shelters is safety. Take care when harvesting materials to not touch poisonous plants or bugs. Use gloves if you can to reduce the chance of thorns and slivers and scrapes. Practice now, in relative safety, so that you will have the valuable experience when your life depends on it.
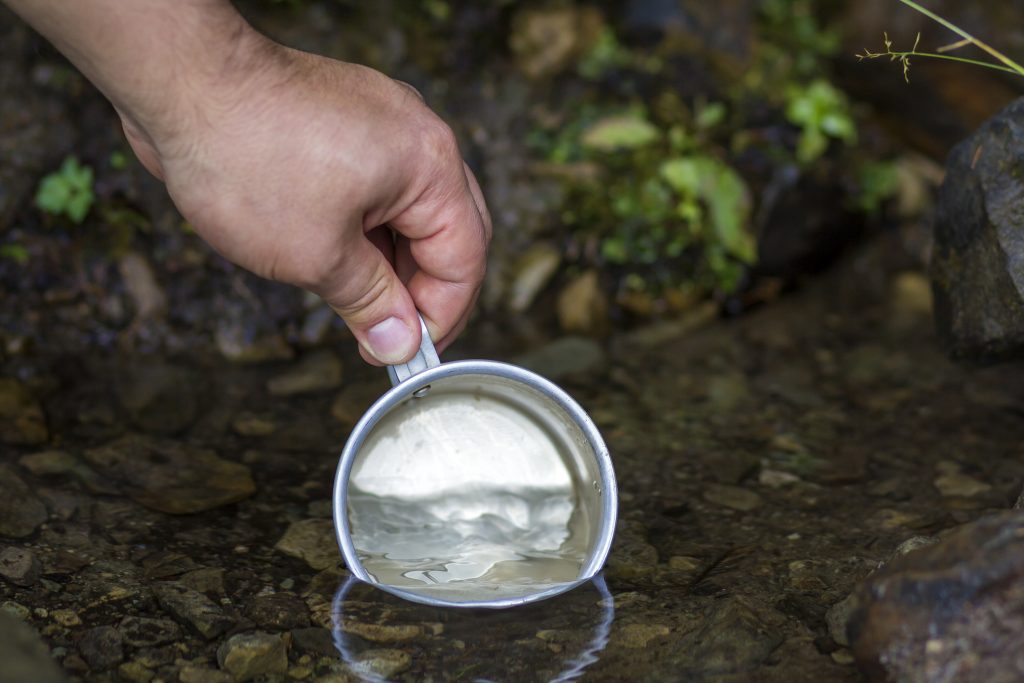
Three Days Without Water
People can generally make it to day 3 without drinking any water, unless it’s very hot and dry and / or you are exerting yourself. Water is a very important consideration. A Liter of water weighs almost 2 and a 1/4 pounds. The easy thing to remember is eight 8 oz glass of water a day. That’s almost 2 liters. If you are planning for 72 hours, that’s over 11 pounds just for water. Another factor besides portability is potability. Is the water safe to drink? Untreated water can contain dangerous bacteria, parasites and contaminants. Not only do you have to find water and purify it, but you should also take steps to reduce water lost through things like sweat, urine, respiratory water loss, etc..
There are a lot of water sources that people consider when they are desperate, but they shouldn’t. Blood is technically a liquid with water in it, but should be considered food because it requires body fluid to digest. Alcoholic beverages may contain water, but they will ultimately dehydrate you as well as cloud your awareness. Snow may be composed of water, but the energy required for your body to melt it will not help you in a cold weather climate. Seawater and brackish sources are not potable. Urine should not be consumed unless it’s an absolute emergency. In the case of sources like snow, simply boiling it will kill contaminants and drinking it warm will take less resources in a cold climate. Seawater, Brackish water, and urine can be distilled.
If you are in an area with a lot of grass it is possible to collect dew. Wrap your ankles with rags and simply walk through it. Wring the rags out into a container as they become saturated and repeat. With practice you can get a considerable amount of water. Another method for collecting condensed water on vegetation is to wrap the ends of leafy bushes with clear plastic bags to trap moisture as it leaves the plants. Often times water will collect in holes in trees and crevices in rocks, and can be collected by siphoning with a tube or soaked up with a cloth. plants with moist pulpy centers such as grapevines can make a good water source as well. Fleshy leaves stems and stalks may contain water if pulverized and pressed, roots as well. Take care to not keep sap for too long as it can begin to ferment.
Rainwater collected in clean containers or plants that has fallen straight from the sky and not through the forest canopy is usually safe to drink. Tapping a tree like a maple or a birch can provide a good amount of water, especially in winter, and is generally safe to drink. Water coming from underground streams is often safe, but I would boil just to be safe. Water found in natural surface water sources no matter how fast flowing should be treated with iodine or bleach or boiled. The risk of drinking water that has not been purified and treated are serious illnesses such as cholera, typhoid, dysentery, E coli, hepatitis, salmonella, giardia and cryptosporidium to name a few. Water borne illnesses will kill you just as easily as dehydrating, so be careful. Try to drink every day if you can. Re-hydration after three days without water typically requires an IV and not just drinking as the blood thickens and the kidneys begin to shut down.
A pump style water filter or a water filtration straw can be useful if you are near an adequate supply of surface water. Otherwise you will want to boil it. A 5 minute rolling boil cannot be relied on to remove chemical contaminants but is usually enough to kill most organisms that may be living in it. Boil for 10 minutes for good measure, and don’t let the steam go to waste. Collect it as it is pure clean distilled water. If you have no fire-safe container to boil water in, burn or carve out a wooden bowl to store your water and drop rocks in it that have been in a fire for 30 minutes or so to get the water boiling. Don’t use river rocks in the fire, as they can explode.
A method for collecting good drinking water in more arid climates is to make a solar still pit. For this you will need a large clear piece of plastic (6′ x 6′ is ideal), and a container to collect the water in. Having a shovel and a long piece of tubing like that found on a water bladder are helpful but not essential as you can dig without a shovel. The hole should be 4-5 feet across and 2-3 feet deep. The plastic is stretched across the hole and held in place with heavy rocks at the edges. and then a small rock is placed near the center to focus the condensing water toward the low point created. The container is placed directly beneath the center stone. The tubing is used as a straw so you don’t have to disassemble the still to access the collected water and lessen the efficiency of the still.
Functioning under the basic principles of the greenhouse effect, the solar still pulls water from the surrounding soil and evaporation causes it to rise where it collects on the underside of the plastic and condenses until it becomes heavy enough to run to the middle and drip into a collection container. When placing the plastic sheet make sure it is not too taut, but not slack enough to touch the bottom of the pit. When you add the stone to the center, try to push down the plastic so that the angle of the cone shape is about 45 degrees. If you have dug an appropriate depth, the lowest point in the plastic under the stone should be just a few inches above your container. once the angle and depth look right cover the rest of the perimeter of the plastic with rocks and dirt so moisture cannot easily escape the still. You can even use the ground 18 inches beyond the perimeter of the pit as a urine latrine and harvest clean water from that as well.
If you have chosen to use a length of tubing, tie it off or plug the end to prevent moisture escaping or insect or dirt getting in your straw. After a couple of hours have passed the moisture should have begun condensing. As the moisture builds up, you will see it drip into your container, once this begins to occur you can safely drink from the straw. A properly built still should produce about a quart per day, so taking enough material to build two should help you stay hydrated if water is hard to find. Additionally distillation can remove thinks like radioactive particle, heavy metals, and other contaminants that would ruin a good filter. Don’t rely on it as your primary water source if you can help it though and seek other means of acquiring drinking water. If you are planning a trip away from civilization always carry enough for one gallon per person per day, chemical purification, and a PLB in the event you get lost.
Three Weeks Without Food
When he was 74, Mahatma Gandhi who was already very slight of build was able to go 21 days without any food at all, just occasional sips of water. There have been documented reports of a few people on hunger strikes going anywhere from 28-40 days without food, these are extreme cases. After 3 weeks with no food, unless you have been stationary for that term, you will be very weak. Most people think food is important in a 72 hour (THREE day) kit or get home bag, but unless you are diabetic or similar it really shouldn’t be. Calories are important, and if you can, you should try to eat every day, but if you can’t get food easily, focus on the previously mentioned needs is much more important.
Depending on your fat to muscle ratio as well as other factors, your body will change quickly after not taking in calories. Normally we use Glucose from our food as a primary fuel source. Within 6 hours since the last thing you ate, glycogen is broken down to produce glucose for the body. Without food, our Glycogen stores in the liver and muscles begin to be consumed within two or three days, and the body begins to breaks down fatty acids, and ketones are produced to help feed the brain. After a few more days, cells start to break down, and proteins are used for fuel, which is the part you want to avoid if you can. After 3 weeks without food there may not be much left of you but you may still have a pulse.
While the duration you are able to go without food will depend on many factors, doctors who advise people contemplating hunger-strikes suggest a maximum of ten days when the body composition of the person is unknown. Major problems seem to arise at a weight loss of about 18% following prolonged starvation. Going a long time without food can lead to severe faint and dizzy feelings, loss of consciousness when standing up too quickly, and most become almost completely bed bound. Even in cases of relatively short fasting bradycardia and drop in blood pressure are well recognized effects. Death from acute myocardial infarction is possible as well.
Orthostatic hypotension seems to be consistently noted as presenting around day 20. If you are without food, measure your water intake in the event that you have lost natural thirst response from lack of food. Additionally combine half a teaspoon of salt with your drinking water every day, though much more than this may precipitate hypokalaemia. If you have gone weeks without food, eating again can be potentially dangerous. It is recommended to start slow and consume small amounts of food which are high in neither processed sugars nor protein. Hospitalization is recommend to monitor a person who has not eaten for weeks. Werneke’s encephalopathy and edema are very possible if the reintroduction of food is not done properly. Too sudden of a fluid increase from refeeding can lead to cardiac failure. The heart is a muscle too and the body does not discriminate when it cannibalizes it’s own muscles to stay alive. QT intervals seem to take the longest to recover.
Conclusion
The number three can help us remember more than just the priority of our basal needs. There is the rule of three regarding redundancy in preps, often portrayed by the expression “two is one and one is none, so have three”. Another way in which the number three can help you in a survival situation is to remember that emergency signaling is done in sequences of three. If you are signaling with a mirror or flashlight, using 3 fast flashes and a delayed pause will alert the person you are signaling to that you are in an emergency situation. By keeping the various rules of three in mind, you will have a noticeable advantage in most survival situations. If you enjoy this content please let us know by clicking like and sharing it with your friends on social media!
